
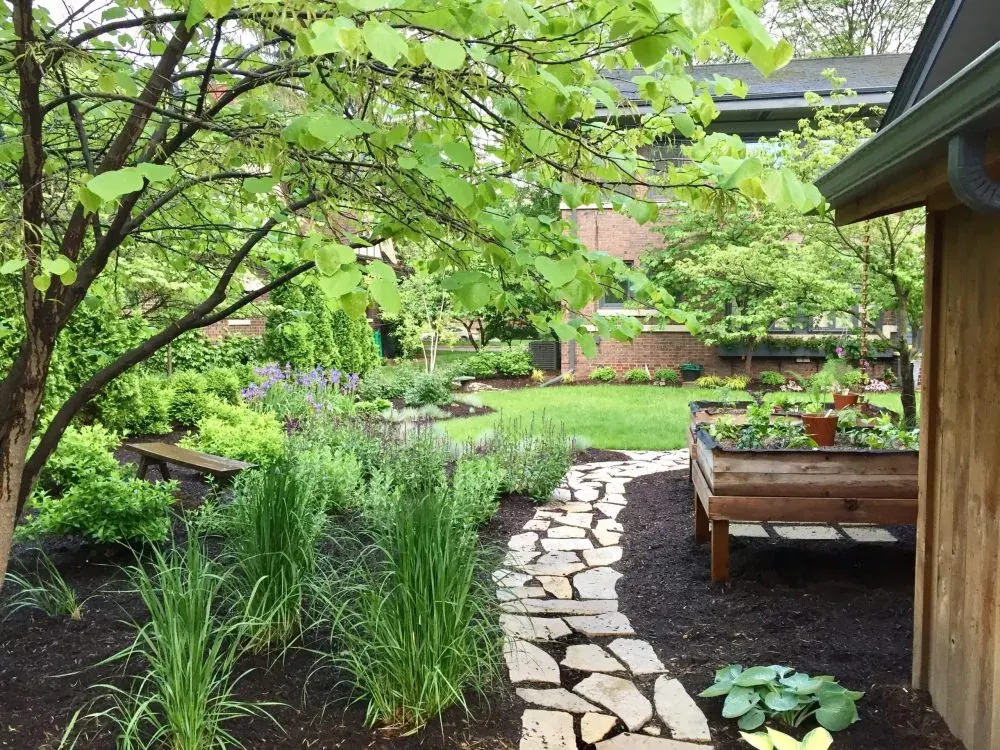
After a long, wet winter in the Pacific Northwest, April is when many homeowners start reassessing their outdoor spaces. Lawns are often saturated, garden beds look uneven, and high-traffic areas turn into mud zones. It’s also the point in the season where you can clearly see what’s working—and what isn’t. That makes early spring a practical time to make landscape upgrades that aren’t just cosmetic, but actually solve recurring issues like drainage, erosion, and ongoing maintenance—and that’s where spring rock installation becomes especially useful.
Rock beds and pathways are one of the more reliable ways to address those challenges without adding complexity to your yard. A well-planned spring rock installation provides structure, improves water flow, and reduces upkeep, all while creating a more finished, intentional look. The following ideas focus on simple, functional upgrades that hold up in PNW conditions—especially during the transition from rainy season into spring growth—and show how to approach a spring rock installation the right way.
7 Practical Design Ideas for Spring 2026
1. Define Garden Beds with Clean Rock Borders
Spring is when garden beds start coming back to life, but early growth can look uneven. Adding a defined rock border creates structure immediately, which is one of the simplest forms of spring rock installation you can take on.
Use darker decorative rock or mid-sized gravel to outline beds. It frames your plants and reduces soil splash during heavy spring rains, making this type of spring rock installation both practical and visual.
2. Build a Dry Creek Bed for Drainage
If you’ve got areas where water pools every year, this is worth considering as part of a larger spring rock installationplan.
A dry creek bed uses river rock to mimic a natural stream while directing runoff away from your home or lawn. In April, when rainfall is still frequent, you can actually observe how water moves and design accordingly, making your spring rock installation more effective long term.
3. Install Gravel Walkways That Stay Usable
Mud is a recurring issue in the PNW. A simple gravel pathway can solve that quickly and is a highly practical spring rock installation project.
Pea gravel or compacted crushed rock works best. Add edging to keep everything in place—otherwise, over time, the path will spread and lose definition. A properly installed spring rock installation here can completely change how you move through your yard.
4. Combine Rock Beds with Evergreen Plants
Rock alone can look stark if overused. Pairing it with plants that stay green year-round helps balance things out and makes your spring rock installation feel more natural.
Dwarf conifers, ornamental grasses, or hardy perennials work well. This combination gives you both structure and seasonal change without high maintenance, enhancing the overall impact of your spring rock installation.
5. Create Focal Points with Larger Stone Features
If your yard feels flat or unstructured, adding a focal point can help—and it’s an often overlooked part of spring rock installation.
This might be a large boulder, a sculpture, or even a simple planter surrounded by contrasting rock. The key is to anchor the space visually so everything else feels intentional.
6. Use Rock to Stabilize Sloped Areas
Sloped yards are common in parts of the Pacific Northwest, and erosion becomes an issue with constant rain. A strategic spring rock installation can help address this directly.
Layering crushed rock beneath larger stones can help stabilize these areas while still looking natural. Slight grading adjustments can also redirect water flow, making this type of spring rock installation both functional and long-lasting.
7. Transition Areas Between Lawn and Hardscape
Instead of abrupt edges between grass and patios or driveways, use a strip of decorative rock as a transition—another simple but effective spring rock installation technique.
It reduces maintenance (no trimming tight edges) and helps with drainage where runoff tends to collect, tying different parts of your yard together.
Choosing the Right Size and Texture
A few general guidelines that tend to hold up when planning a spring rock installation:
- Larger river rock (2″–4″+): Best for drainage zones and visual features
- Pea gravel or 3/4″ crushed rock: Better for walking surfaces
- Mixed textures: Often more natural-looking and functional
If everything is the same size and color, the result can feel flat. A bit of variation goes a long way in improving the outcome of your spring rock installation.
Should You Install Edging in Spring
Yes—and April is actually a practical time to do it, especially if you’re already planning a spring rock installation.
Edging keeps your rock contained and reduces long-term maintenance. Options include:
- Metal (steel or aluminum): Durable and clean-looking
- Plastic or composite: Flexible and cost-effective
- Stone or pavers: More permanent, but also more labor-intensive
If the ground is too wet for deep digging, surface-installed edging can still work for lighter applications.
Drainage Considerations (Important in This Region)
This is where many DIY projects go wrong, even with otherwise solid spring rock installation plans.
- Always use a base layer of crushed gravel in areas with poor drainage
- Slightly slope rock beds away from structures
- In problem zones, consider integrating a French drain or perforated pipe
Ignoring drainage usually leads to sinking, shifting, or pooling within a year, undermining your entire spring rock installation.
Maintenance: What to Expect
Rock landscaping is low maintenance—but not zero maintenance, even after a proper spring rock installation.
- Remove leaves and debris periodically
- Re-level areas that shift after heavy rain
- Add material where settling occurs
Most upkeep is occasional and straightforward, especially compared to traditional lawns or garden beds.
DIY Tips for Spring Installation
If you’re planning to do this yourself, a few practical points for a smoother spring rock installation:
- Sketch your layout first—especially for pathways and drainage
- Use landscape fabric to limit weed growth
- Start small if you’re unsure—expand later
- Rent equipment for larger projects rather than overextending manually
April’s conditions are generally workable, but you’ll want to avoid installing during particularly heavy rain stretches.
Popular Rock Options for 2026 Projects
At G&L Bark and Supply, some of the most commonly used materials for a spring rock installation in the PNW include:
- Columbia River Rock (2″–10″)
- Pea Gravel (3/8″)
- Black Lava Rock
- Sunset Blend Decorative Rock
- 3/4″ Clean Crushed Rock
Each serves a different purpose, so most projects use at least two types rather than just one.
Final Thought
Rock beds and pathways aren’t just aesthetic upgrades—they’re practical solutions to very specific regional challenges. In the Pacific Northwest, where moisture management and durability matter more than almost anything else, a well-executed spring rock installation tends to outperform many traditional landscaping approaches.
April gives you a window to install before peak growth season, while still taking advantage of workable soil and consistent moisture. If done thoughtfully, your spring rock installation can carry through not just this spring, but the next several years with minimal upkeep. Come find what you need at G & L Bark Supply!